Expand your Brand!
Generate revenue!
Increase your reach!
How to Create Virtual Fitness Programs in Shape
1. Add Your Workout Program Categories. Navigate to Tools -> System Settings -> Field Definitions -> Video Fitness Programs.
- Group your programs by duration; 2-Week Program, 3-Week Program, 7-Day Program.
- Group your programs by area of concentration; Lower Back, Upper Body, Hips and Thighs.
- Group your programs by functionality; Tone, Weight Loss, Strength.
2. Create your first program. Go to Functions -> Member Portal -> Video Fitness Programs.
- Click the
 icon on the left to add program.
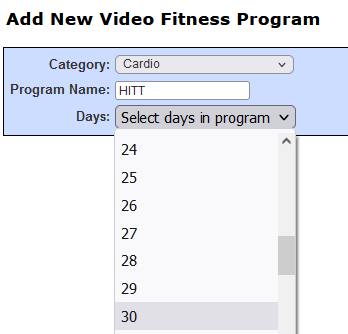
 - Select the Program Category, name the Program then select the number of days the program is for, 1 - 90 days.
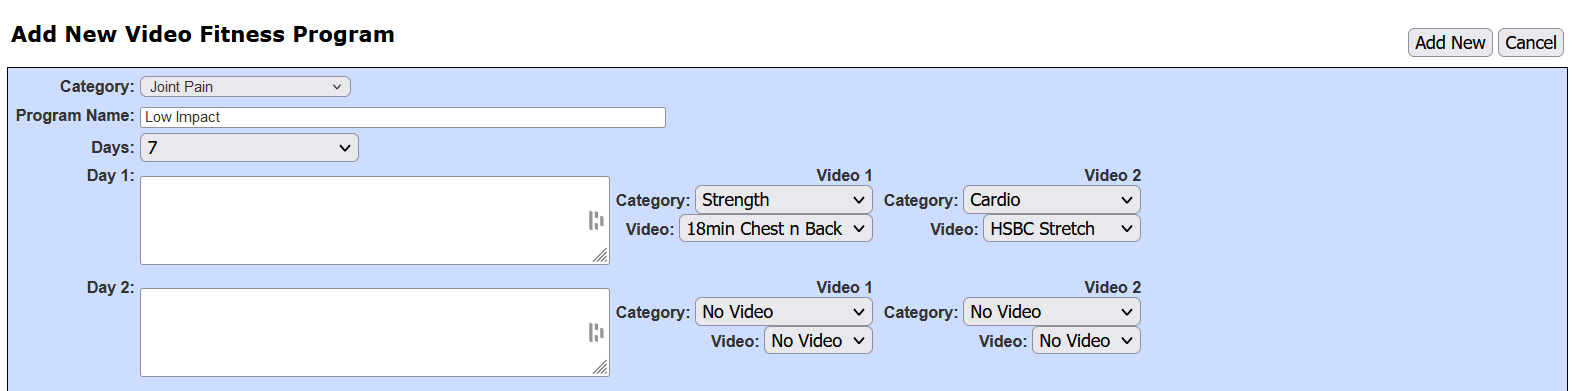
- In Day 1, enter the workout your client should follow. It may be a number of squats, a number of reps with dumbbells, etc.
- Select a corresponding video (up to 2) that the client should do along with the days' routine. The video can be one that you've uploaded to demonstrate the proper technique for sit ups, for example. It can be a video where they follow along with one of your LIVE sessions. This is your chance to keep your clients engaged.
- Continue adding workouts until you've completed the program.
- Click 'Add New' at the top of the form on the right.
3. How to sell the fitness program. Go to Functions -> Services -> Add Type.
- Follow the steps for adding a new Service Type.
- Make sure you select 'YES' to 'Member Can Purchase Online' and 'Non-Member Can Purchase Online'.
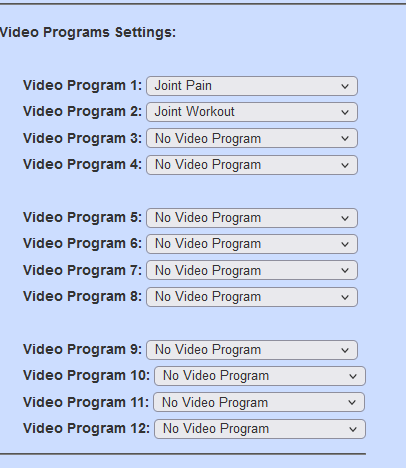
- To add the Video Programs, scroll down to 'Advanced Options' and expand the area.

- Select the Video Programs that will be sold in this package. Add up to 12 Programs per package.
- Scroll to the top of the form and click 'Add'. Now you are ready to sell the program. Since it is completely virtual, you can upload the link to many different platforms such as TikTok, Instagram, Facebook, Pinterest etc.
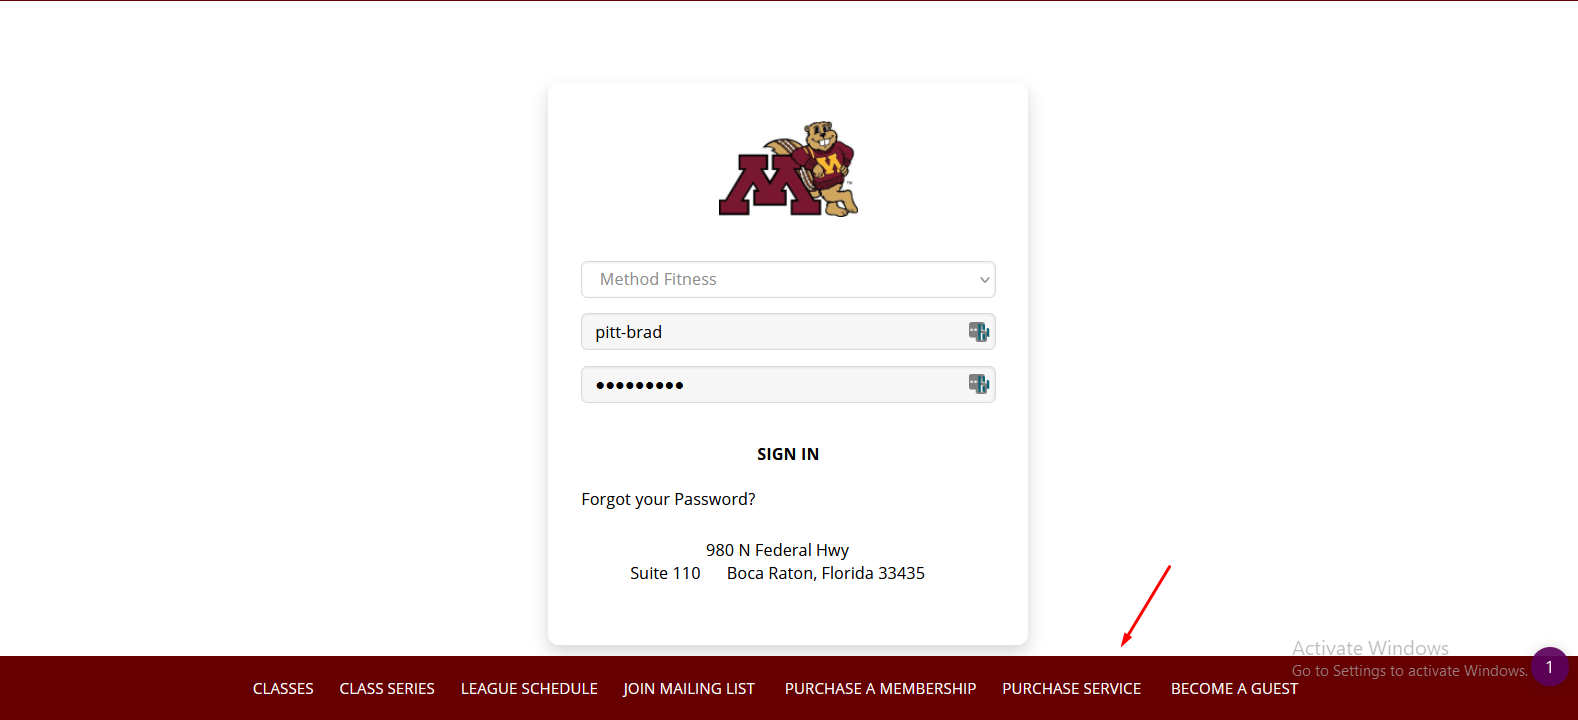
Note ~ To get the link to post, click into the Member Portal box where you normally log in as an Administrator.

There is no need to log in ~
At the bottom of the screen, click the 'Purchase Services' link.
Click 'Select' on the package.
The URL in the address bar at the top of the screen is the link.
Example:

Comments
0 comments
Article is closed for comments.