Here are the steps for selling Memberships and Services online from your website:
Step I. - Determine which Memberships and Services you want to sell online
Memberships
- Functions -> Memberships -> Types -> Search to bring up all of your Active types;
- Click the 'Edit' link in the Action column;
- Update the field Non-Member Can Purchase Membership Online to YES;.
- For your members to sign the agreement, attach your agreement using the drop down for Assigned Document.
- Update the type.
 Tip**You may want to create a new type for online sales so you can see how many memberships you are selling online at the end of the year. Under Tools -> System Settings -> Field Definitions -> Income Categories, add 'Online Sales or Online Memberships. Also add a new Product Category for Online Sales (Tools -> System Settings -> Field Definitions -> Membership Categories). On your membership type, select the new product and income category for your new type.
Services
- Functions -> Services -> Types -> Search to bring up all of your Active types;
- Click the 'Edit' link in the Action column;
- Update the field for Member Purchase Online and Non-Member Can Purchase Online.
- If they are required to sign a document, select an agreement from the Assigned Document drop down list.
- Update the type.
Tip**You may want to sell just a few of your more popular offerings when you first start out. Try to make the selection process as simple as possible.
Step II. Posting the membership and service links to your website.
From Tools -> System Settings -> Member Portal Settings, enable the buttons on the Member Portal login screen that will show you the URLs. **NOTE ~ these buttons should only be used while you are setting this up. The buttons should be disabled after you have completed
- 'Show JOIN NOW Button (membership)' should be enabled for memberships;
- 'Show PURCHASE SERVICE Button' should be enabled for services;
- 'Show VIEW CLASSES Button' can be enabled for classes (optional).
Step III. Get the URLs!
- From the Shape default login screen, click on the Member Portal box.
2. Click the 'Join Now' button;
3. Click on each membership to get the specific link;
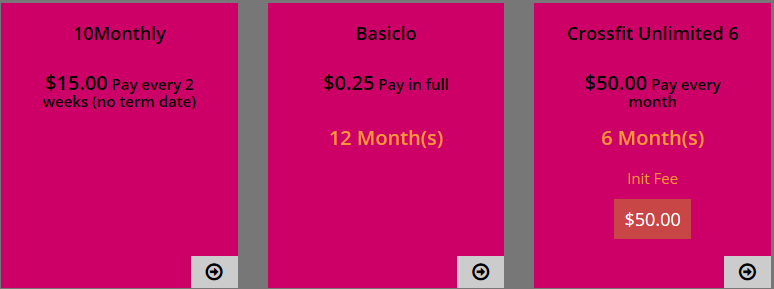
4. You will find the URL on the next page. The Display name will appear at the end of the link.

5. Follow the same steps for 'Purchase Services' and 'View Classes'.
6. Create a purchasing button on your website or Facebook and link the URLs to the buttons.
New members will click on your purchasing buttons and be connected to Shape where they enter their name, address, phone number and credit card!
It's that easy!
Comments
0 comments
Please sign in to leave a comment.